Deploy your site using Netlify 🔗
Netlify is a web-hosting service that can host your website for free. We will be using the GitHub repository we created for our Hugo blog with Netlify.
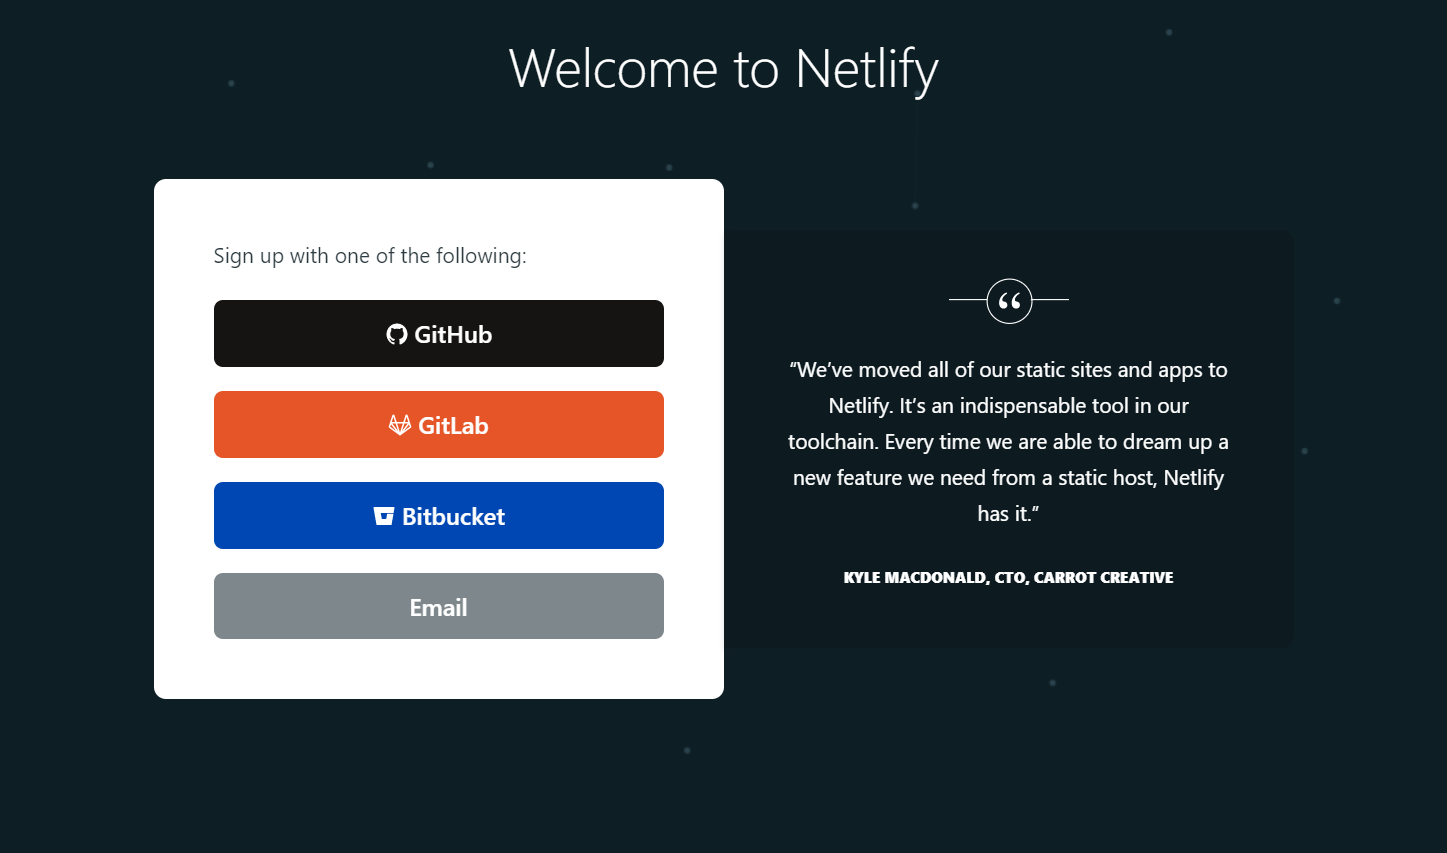
1. If you don’t have an account already, create a new account and sign up to Netlify . You should have the option to sign in/sign up using a Github account, so choose that option:
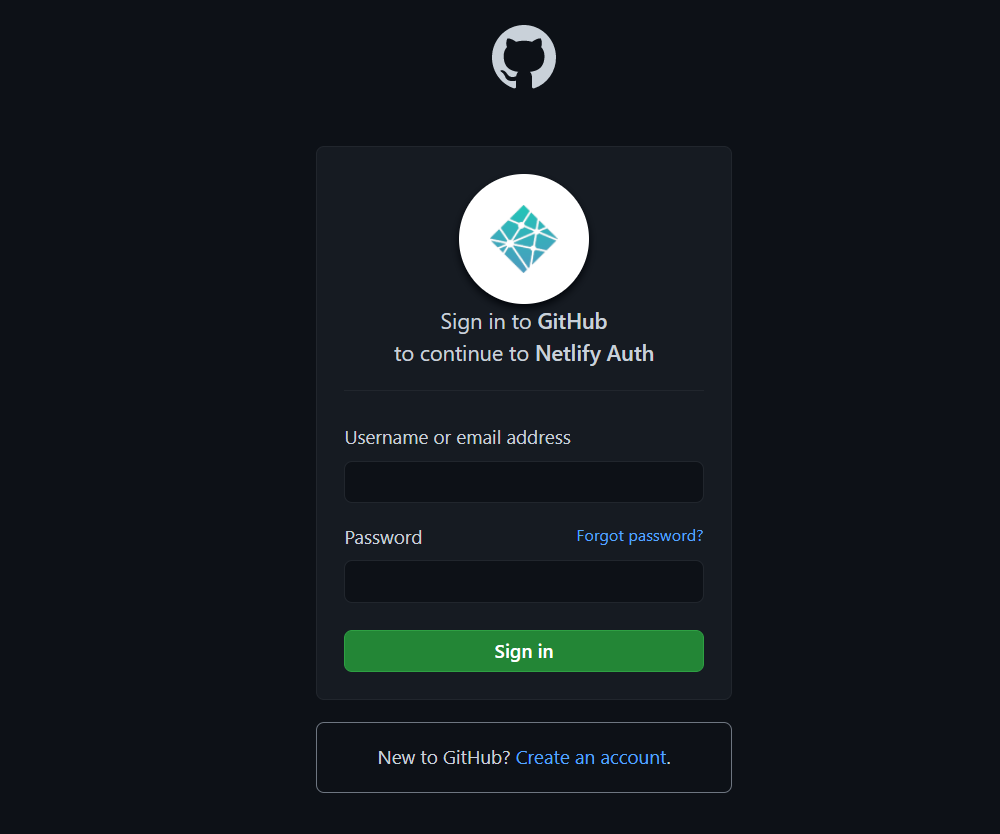
2. Enter your Github credentials:
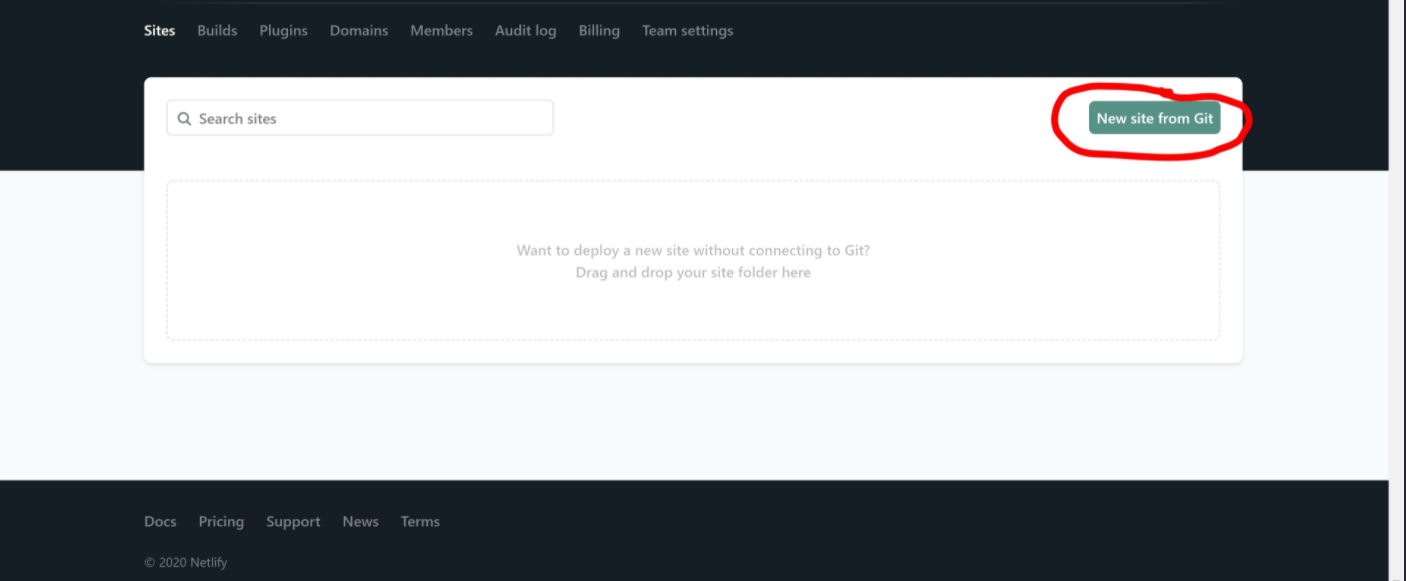
3. Click on ‘New Site from Git’
4. Click on ‘Github’
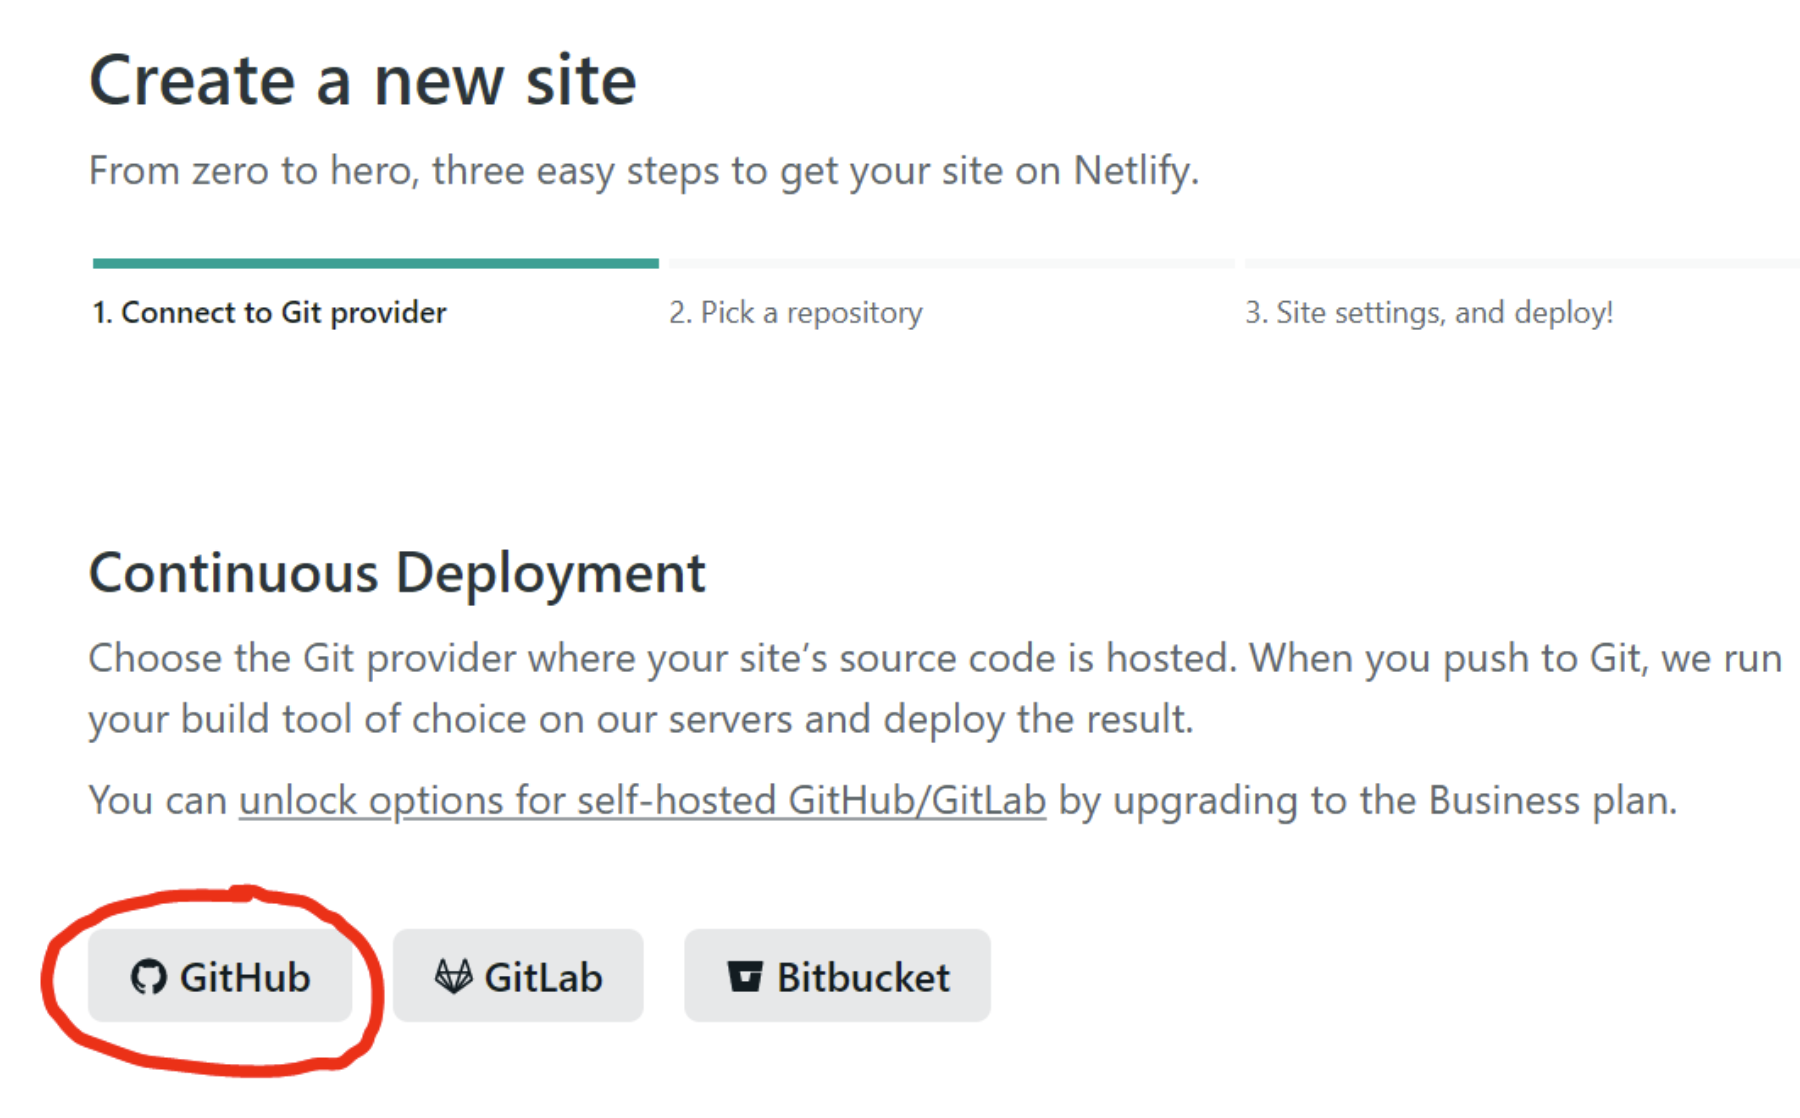
You may be asked to grant permissions to Netlify. If this happens, select ‘Authorize Netlify’.
5. You may then be asked to install Netlify. Here, you are not installing anything on your local computer. You are actually just connecting your Netlify account to a chosen Github repository:
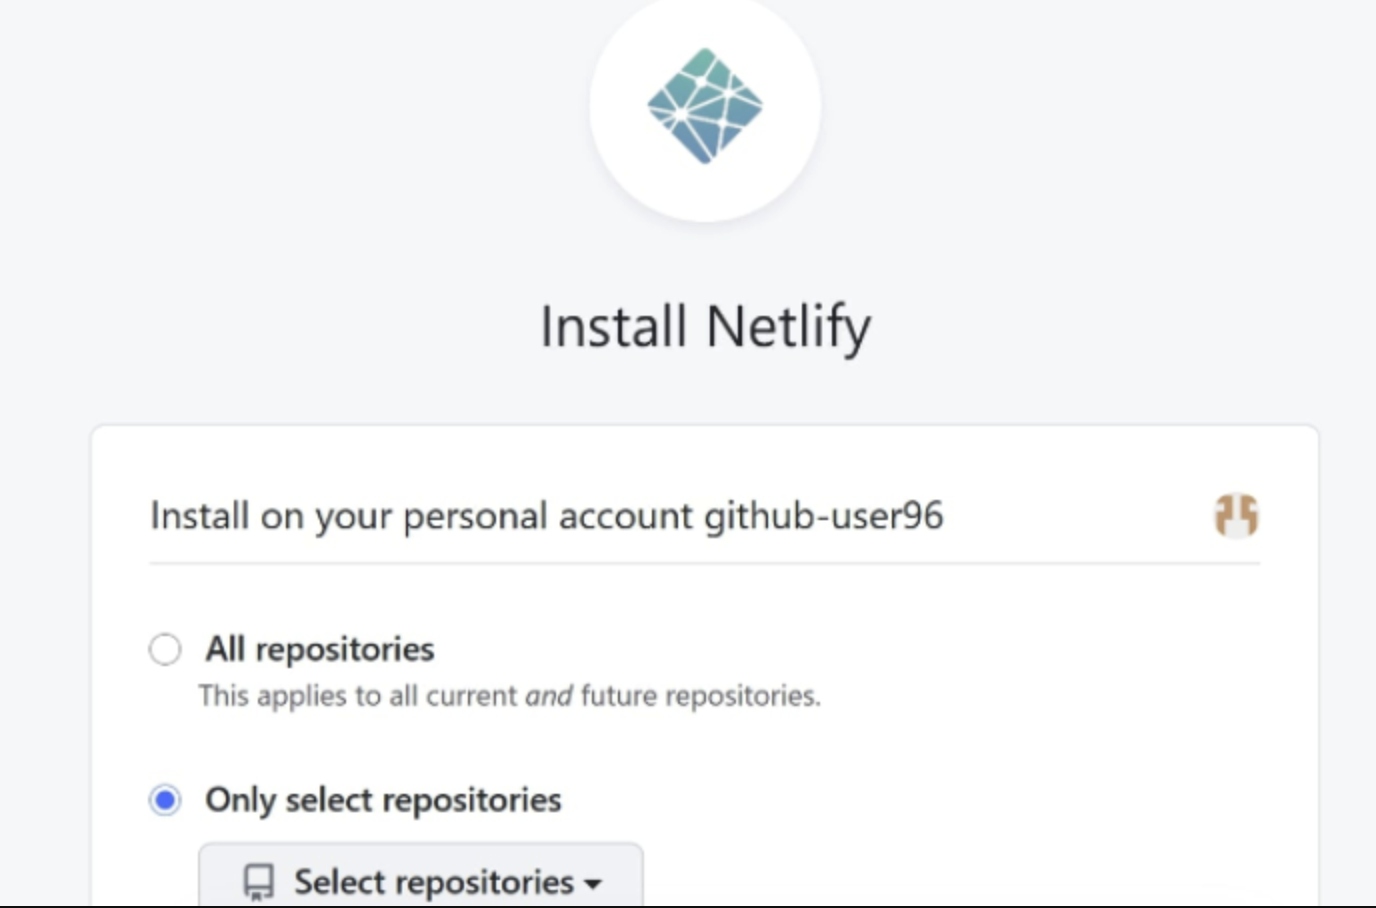
You can either choose:
- All repositories: Netlify will have access to all repositories that you will have on your account.
- Select repositories: You are only giving Netlify permission to certain repositories of your choice.
In this case, it does not really matter which option you choose as the end result will be the same.
6. Select ‘Install’.
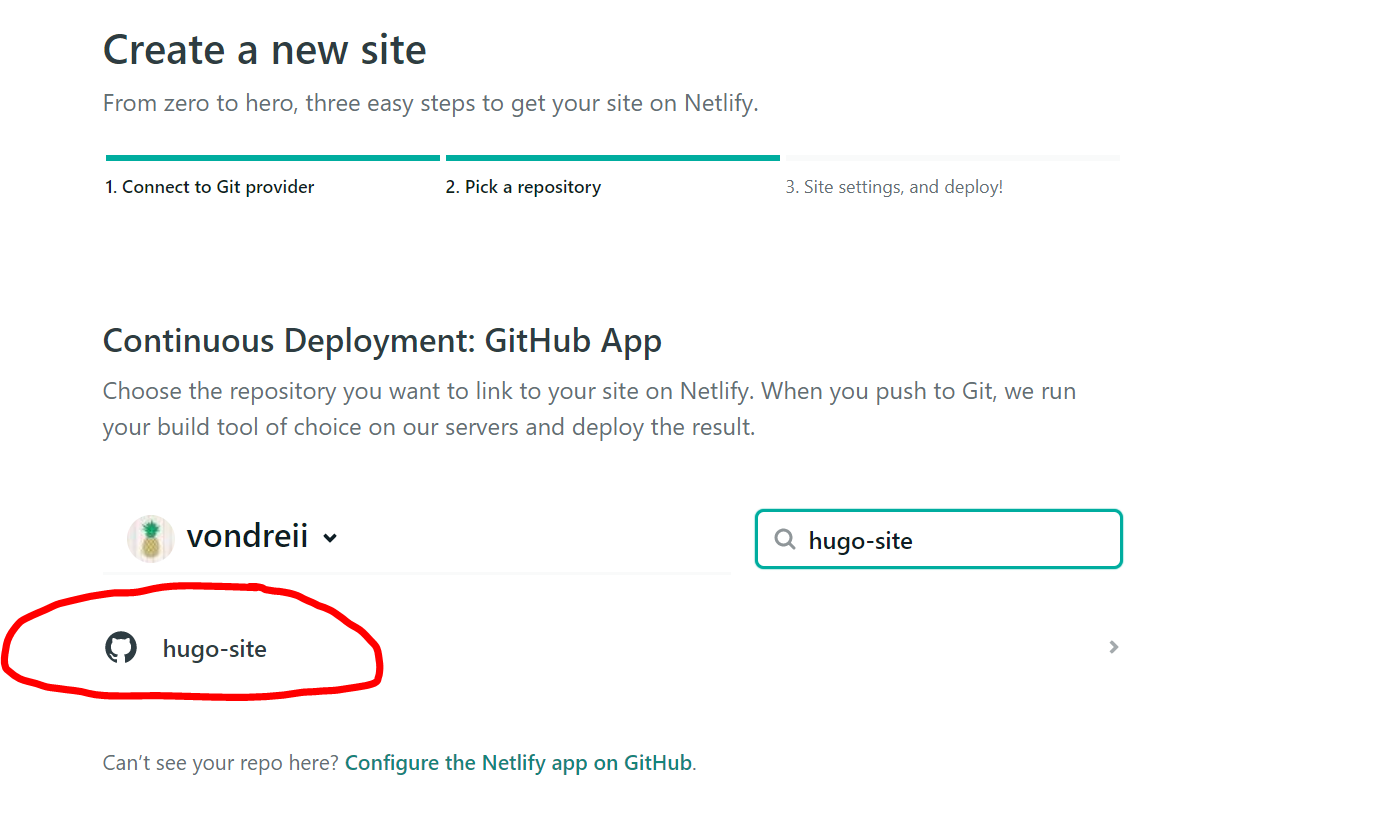
Now select the repository that you want to host (in this case, the repository where your Hugo code is stored).
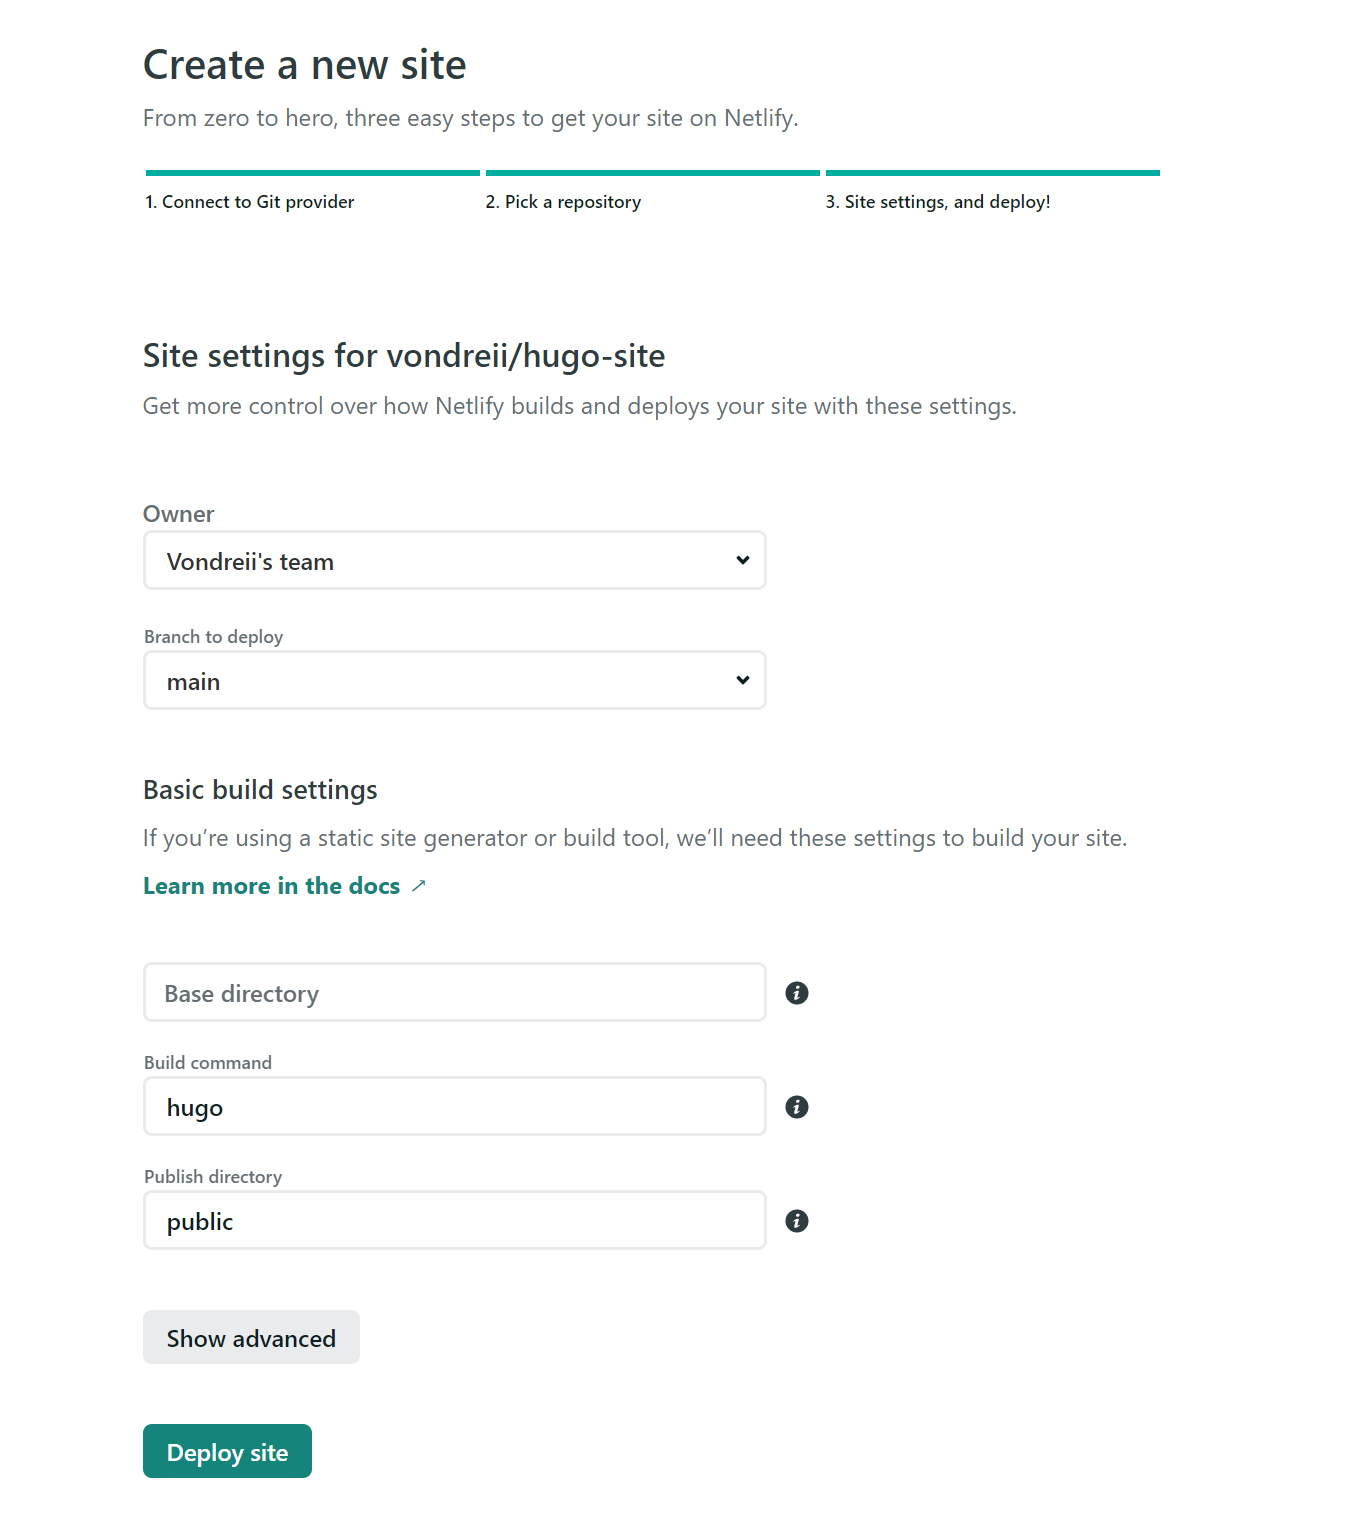
7. When you get to this page, leave the Site settings as the default. For the Basic Build Settings, use the same settings as shown in the image:
8. After the setting up process is complete, you will now be taken to a page where you will be able to manage the deployment of your site.
- Netlify automatically re-deploys your site everytime you make a commit and push it to your Github repository.
- If the latest deploy attempt was successful, your site will be made live on the web at a randomly generated domain name. You can visit your live website on the randomly generated
<some-random-name>.netlify.applink.
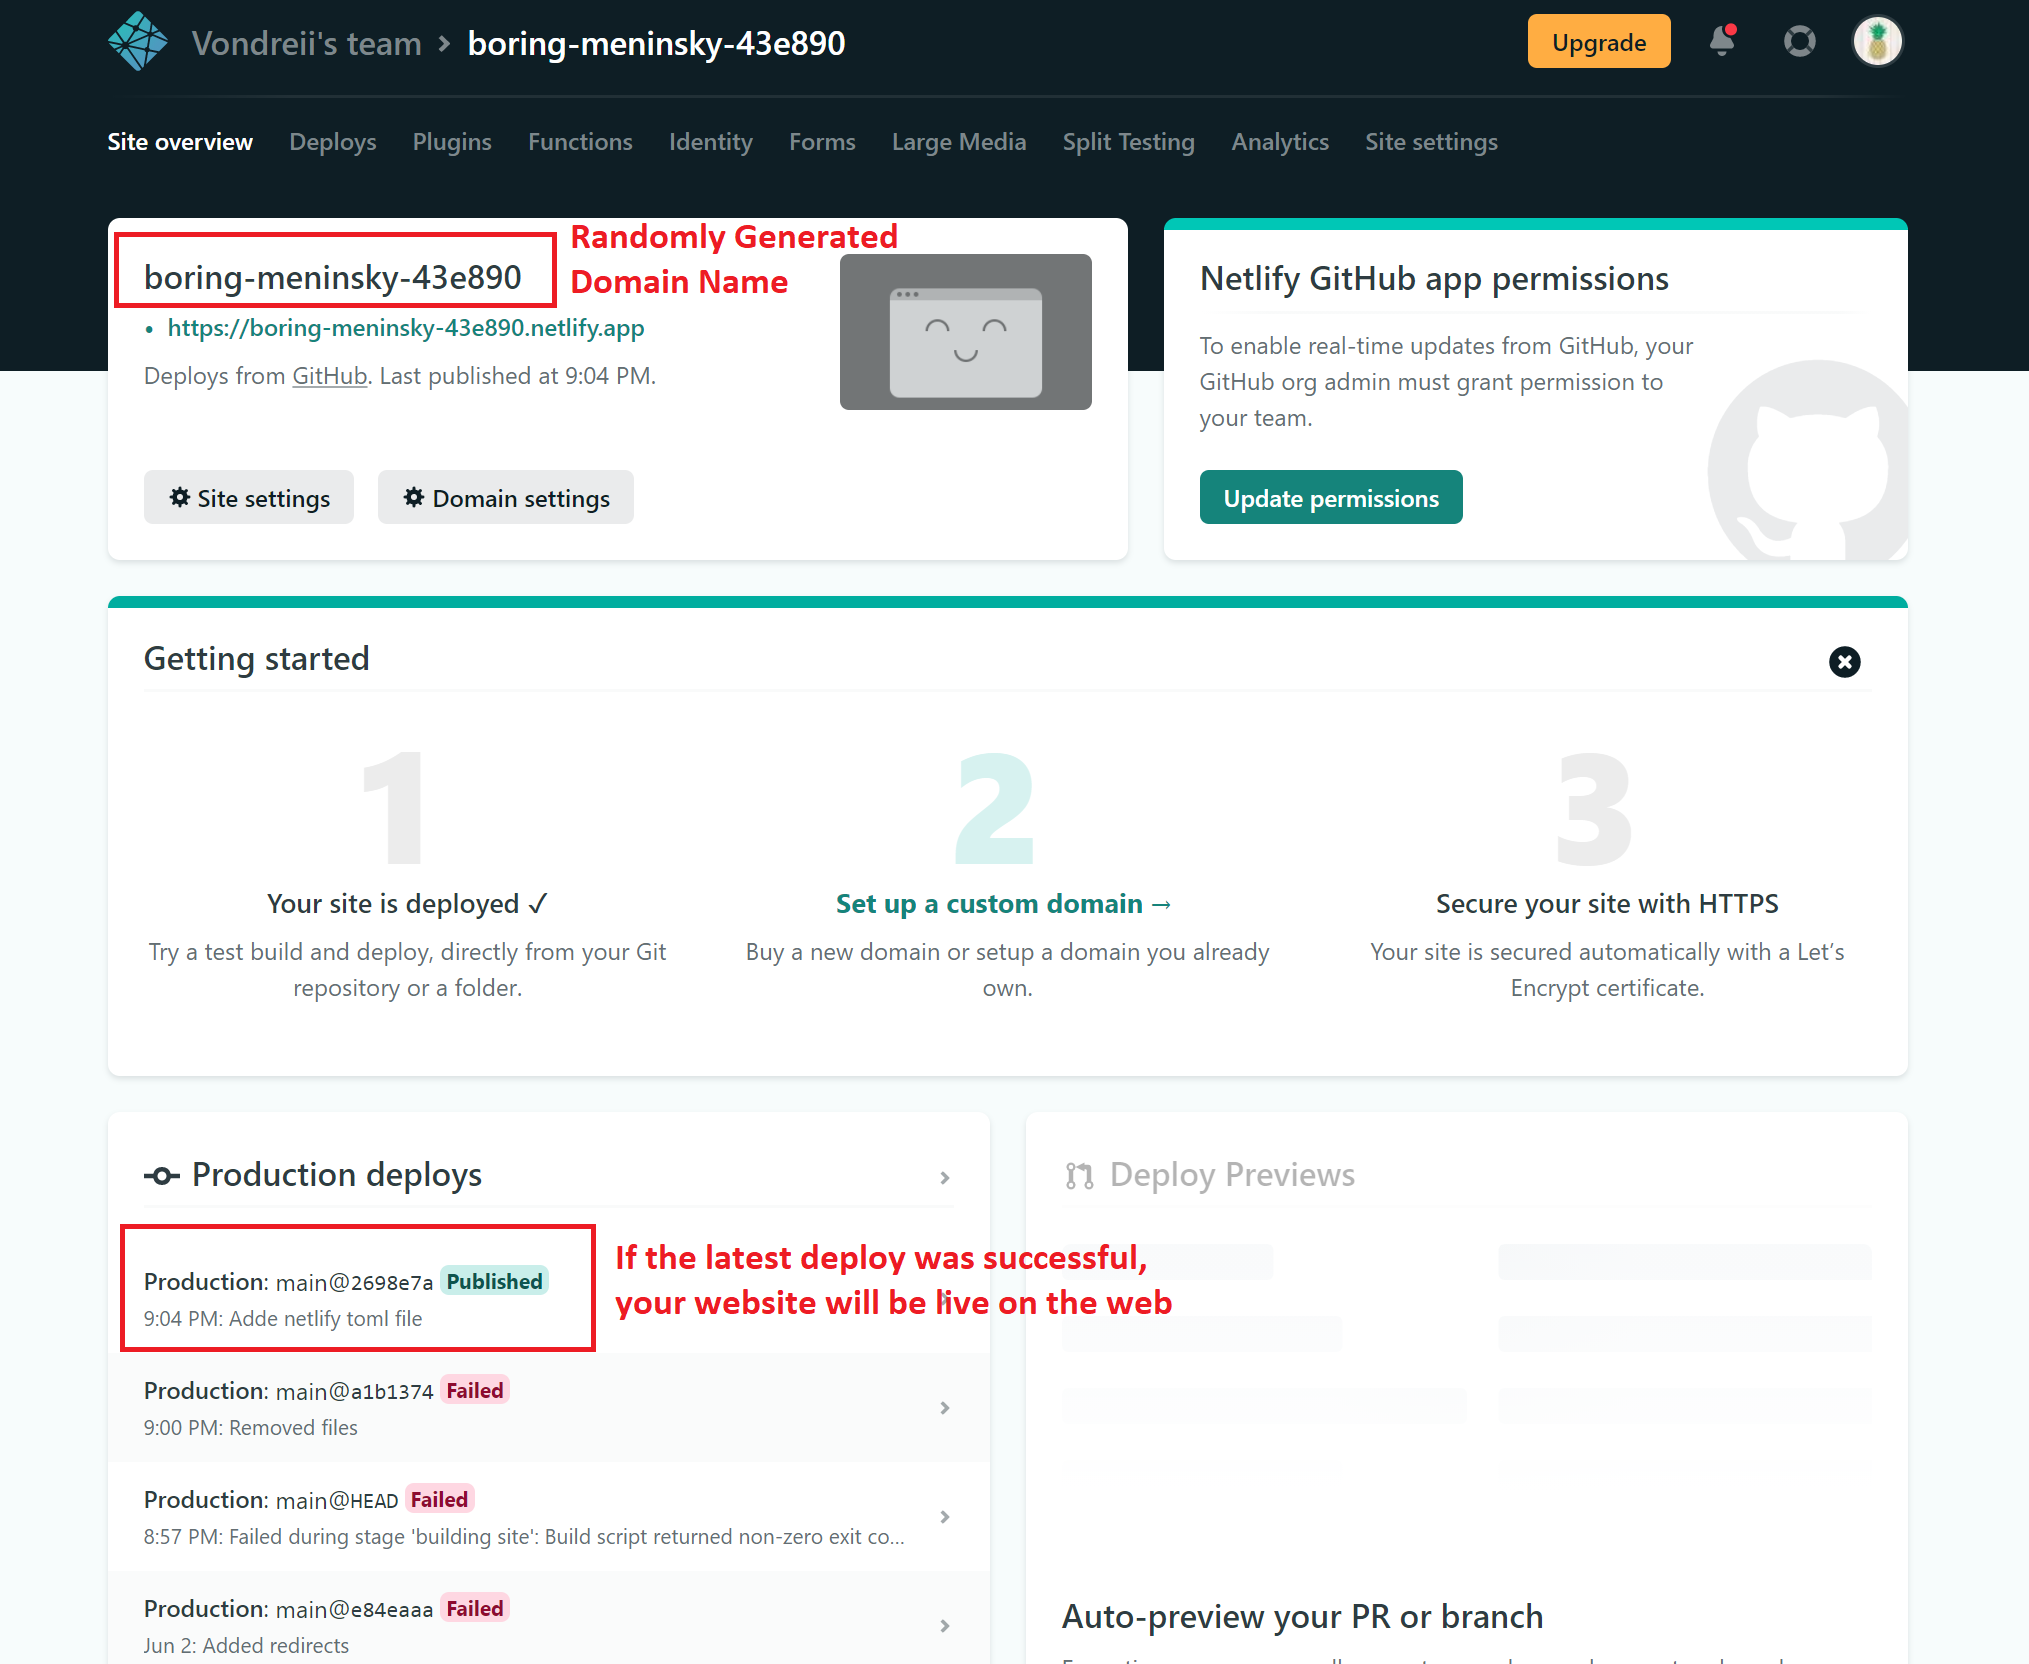
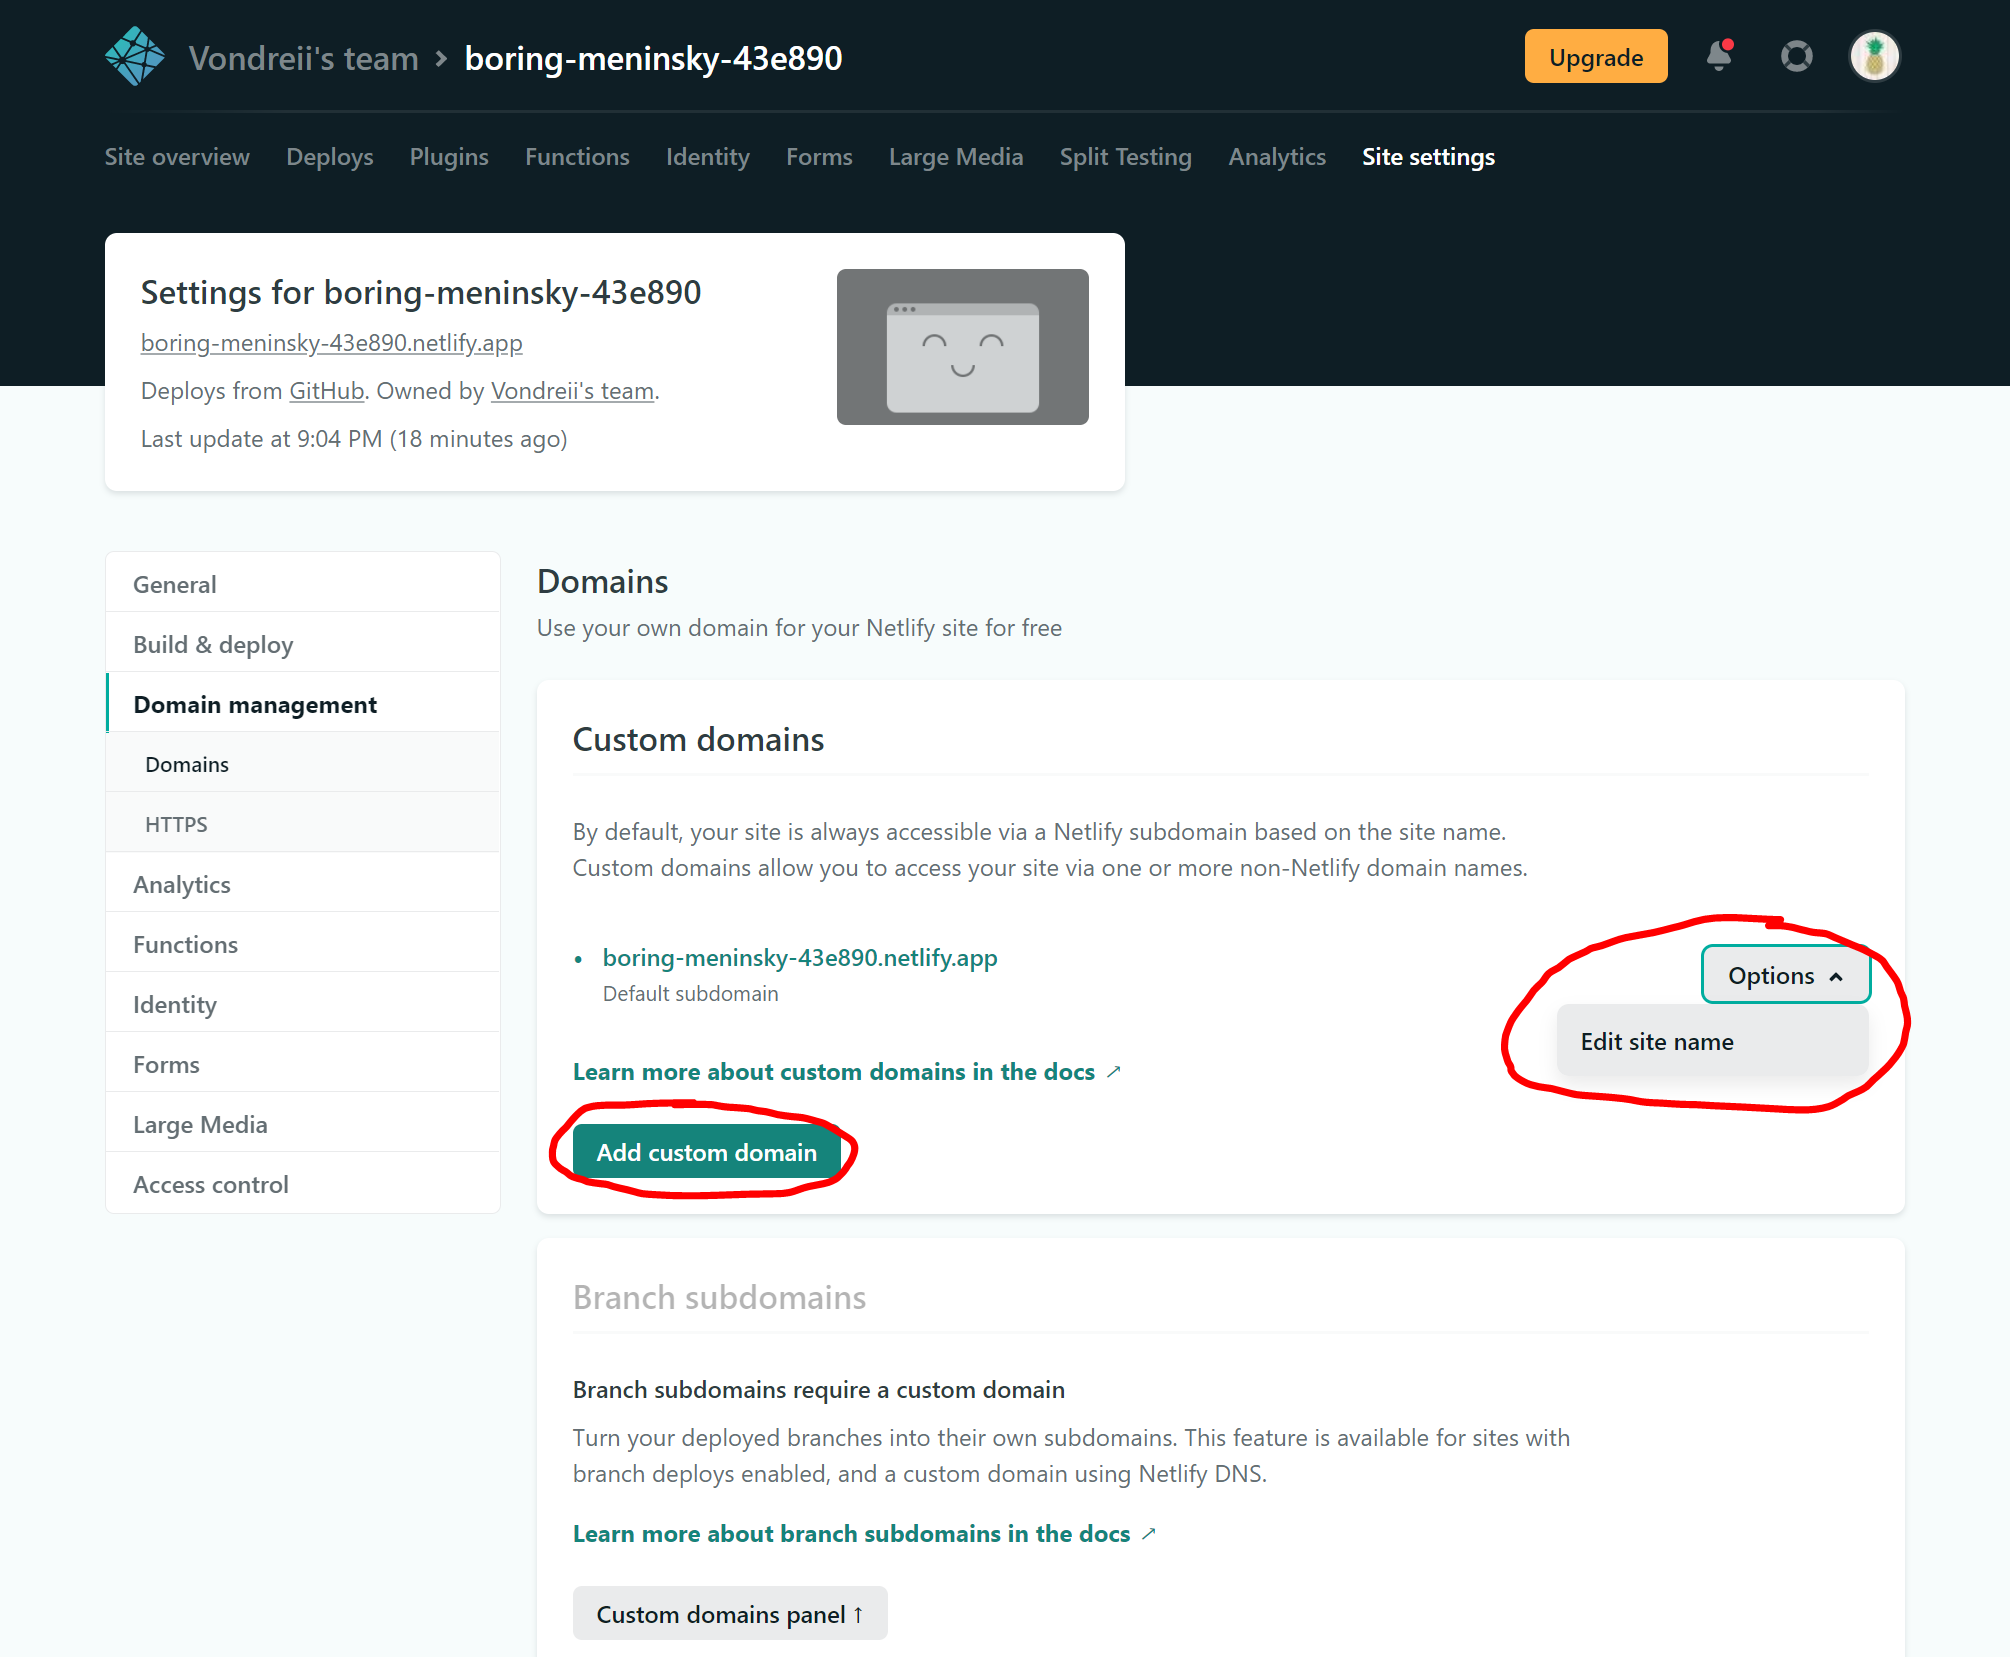
9. If you wish, you can change the randomly generated domain name to something less random, by going into Domain settings.

Here, you can either:
-
Add a custom domain name, that can end with
.com,.gov, or more.- These are custom names that you buy on your own which you can use in Netlify. These will not have the
.netlify.appat the end.
- These are custom names that you buy on your own which you can use in Netlify. These will not have the
-
Or, you can edit the randomly generated one to something that sounds nicer.
- This is a free domain name and will have the
.netlify.appat the end.
- This is a free domain name and will have the
10. Because we are setting up a website for free, we will just edit our domain name and keep the .netlify.app at the end.
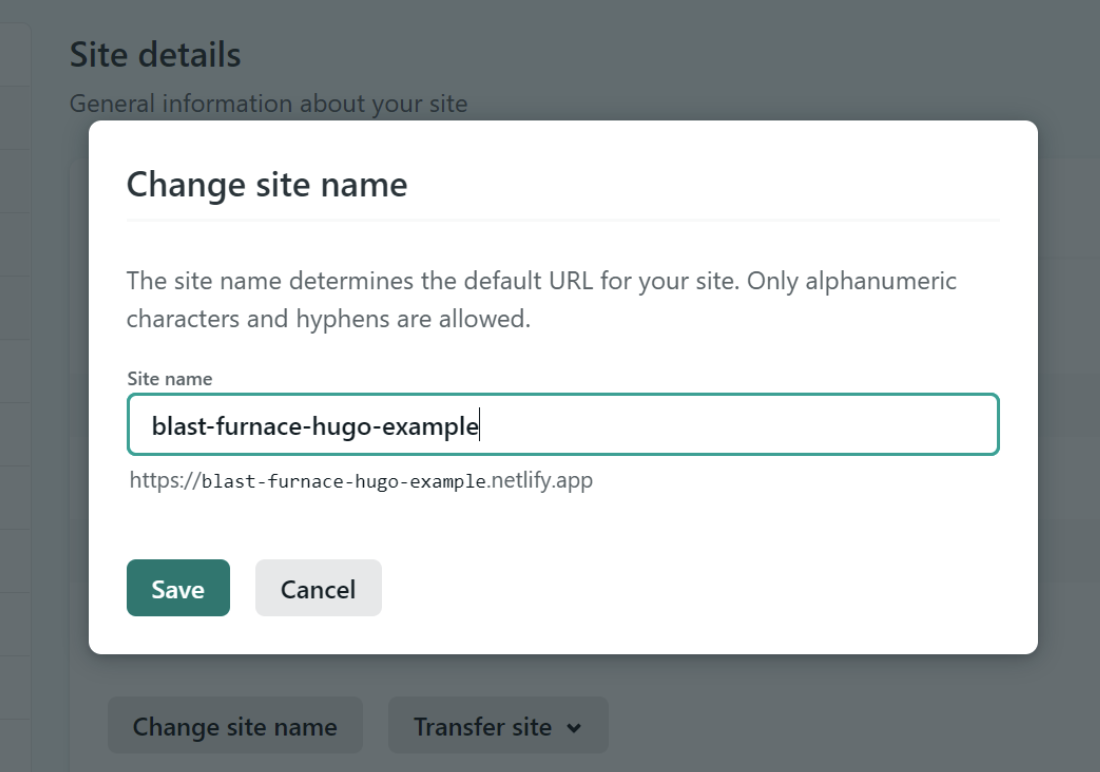
11. After you save the new site name, we can go to https://blast-furnace-hugo-example.netlify.app/ and see our website live!
NOTE: You will need to give your hugo site a different name, since this tutorial already uses
blast-furnace-hugo-site.